Installing MicroPython on NodeMCU
Getting started with MicroPython and the NodeMCU Esp8266 board. All the commands to get you configured and running.

Source for these instructions: https://docs.micropython.org/en/latest/esp8266/esp8266/tutorial/intro.html
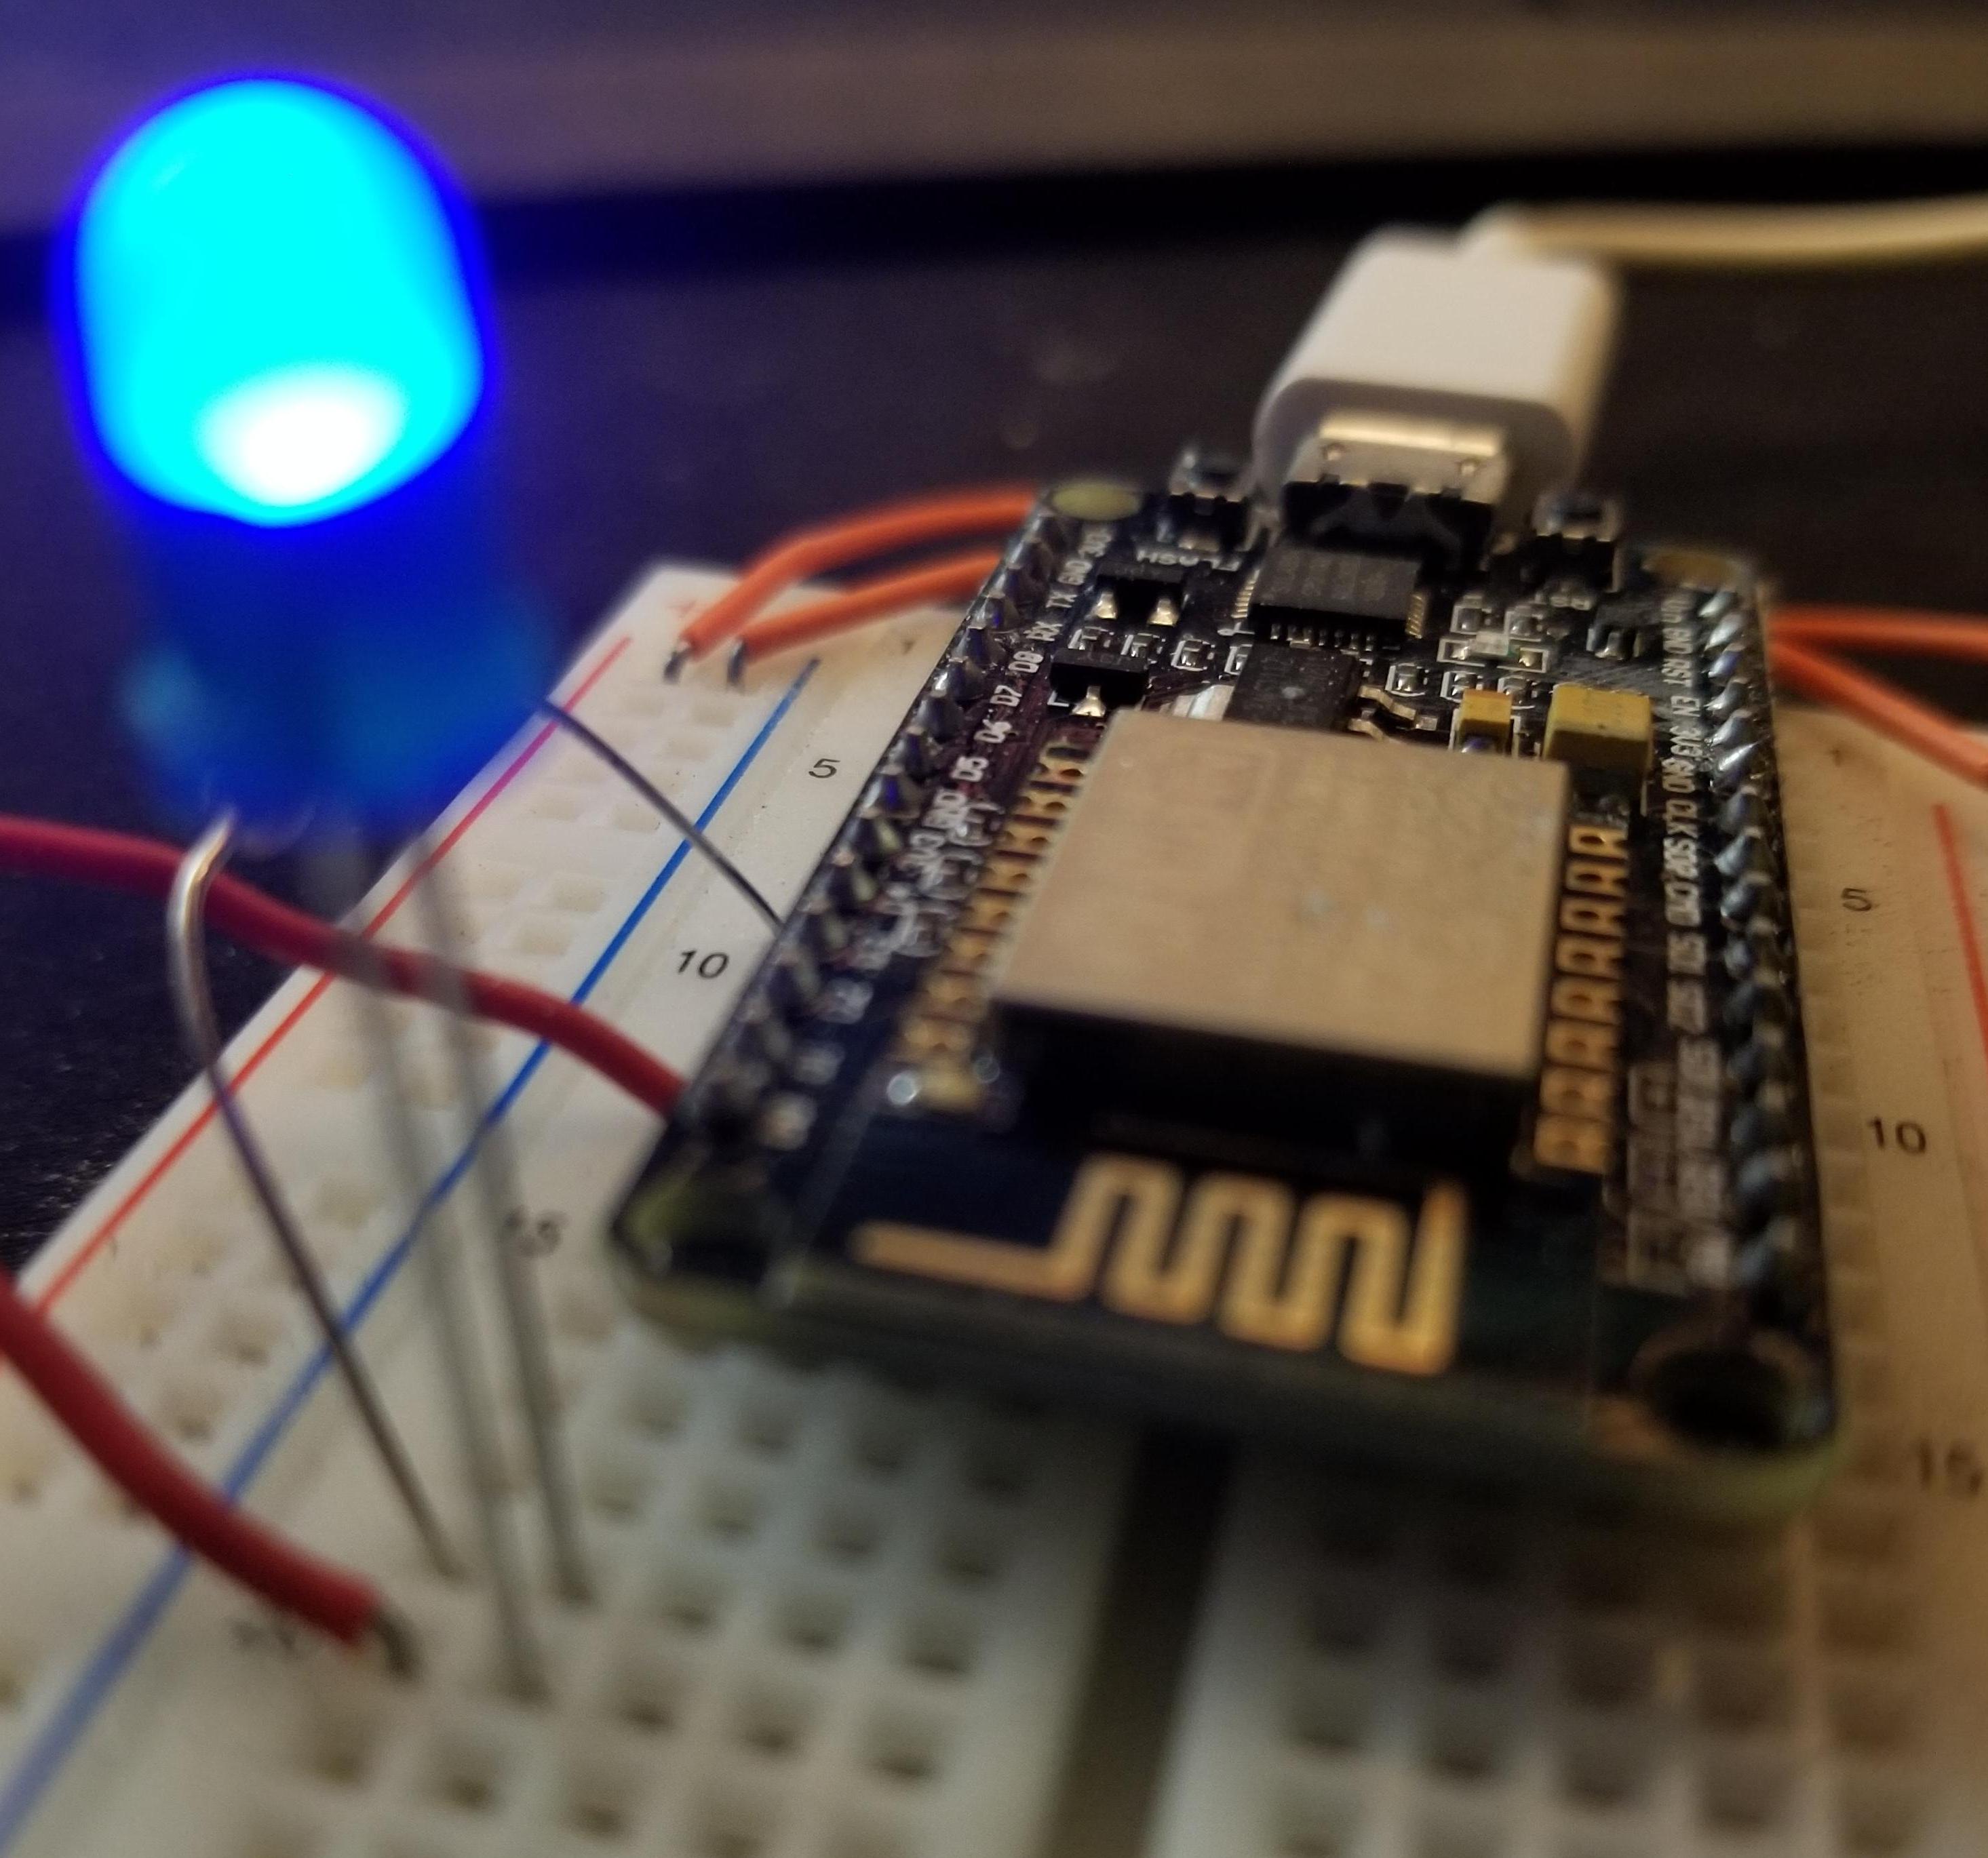
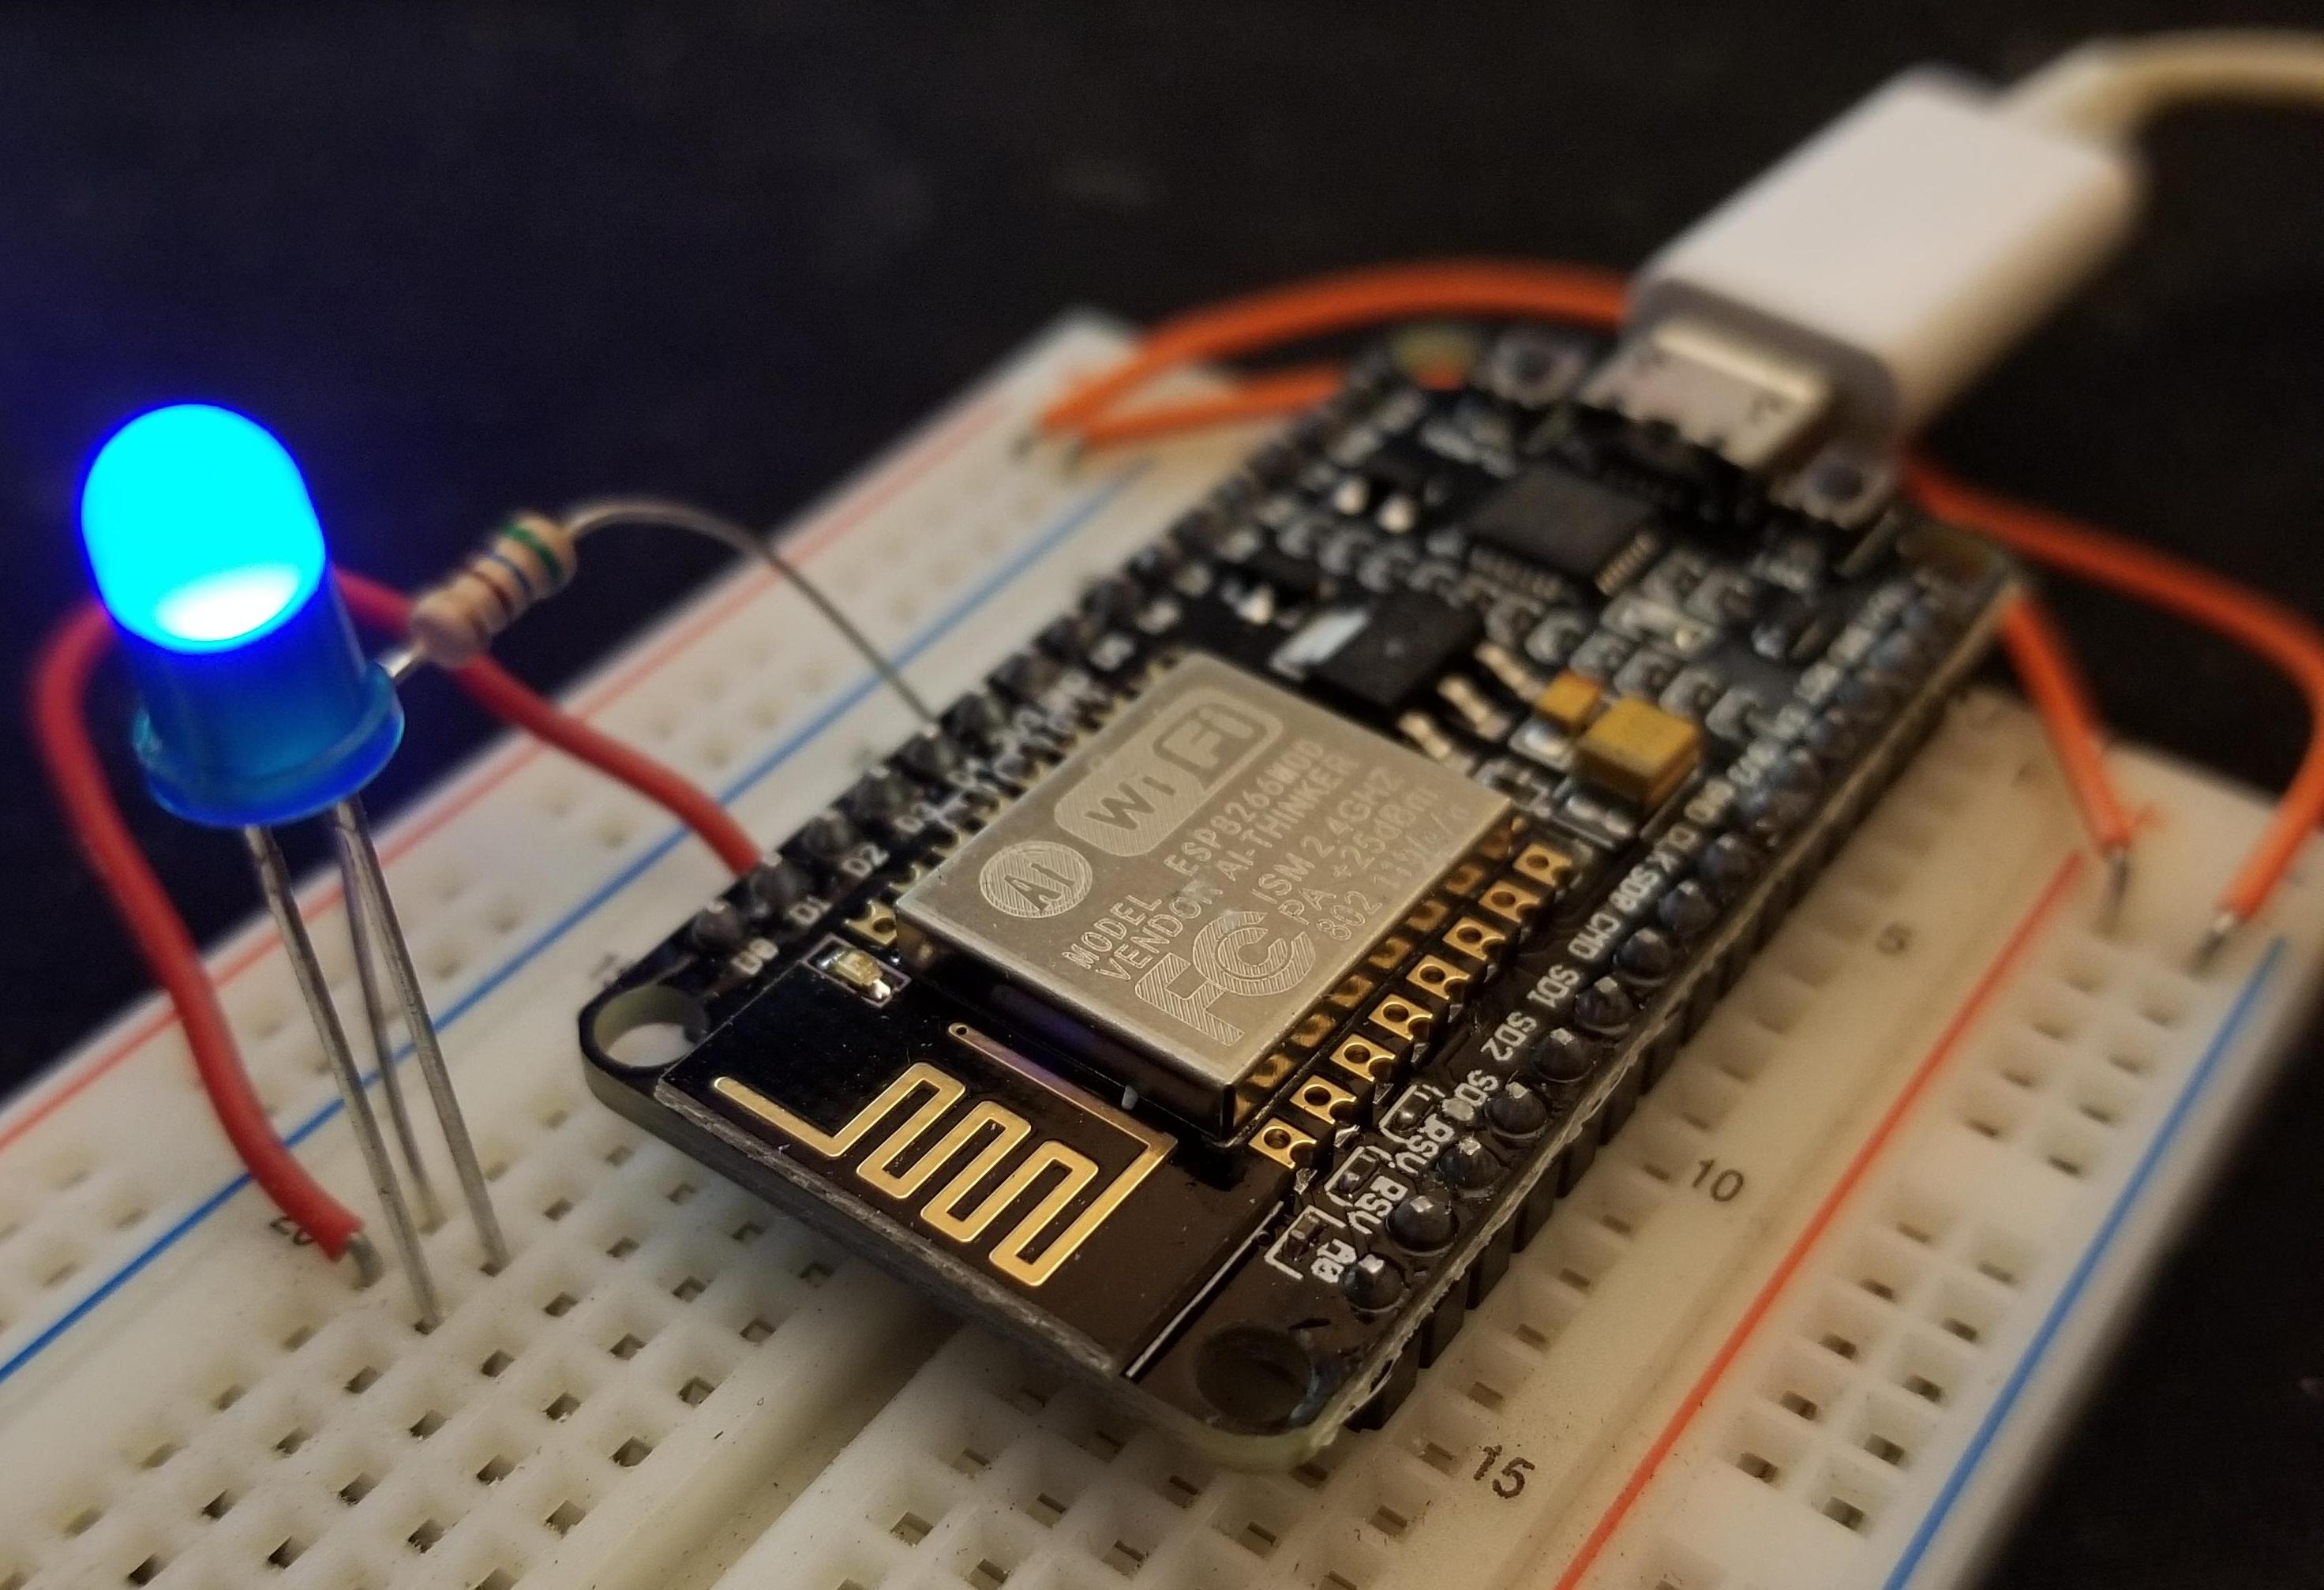
The NodeMCU line of boards represent a small embedded system with onboard wifi. I plan to use this board to monitor the status of my sump pump and communicate with my home automation system going forward. Before doing so, I wanted to stay with Python, so I chose to setup my board with MicroPython rather than an Arduino based approach. The following sections and commands should be all you need to get up and running with the board. For reference, I am using the HiLetgo 2pcs ESP8266 NodeMCU LUA CP2102 ESP-12E Internet WIFI Development Board

Flashing MicroPython Firmware
Begin by flashing the MicroPython firmware. On a Linux system I used the esptool flasher and downloaded the firmware to the board with the following commands.
# Flashing tool used for loading firmware
pip install esptool

# Install the current firmware
# Download from: http://micropython.org/download#esp8266
esptool.py --port /dev/ttyUSB0 erase_flash

# Flash the firmware
esptool.py --port /dev/ttyUSB0 --baud 460800 write_flash --flash_size=detect 0 esp8266-20180511-v1.9.4.bin

# Using a Linux system, connect through USB and terminal.
picocom /dev/ttyUSB0 -b115200
Configure Wifi
Once flashed, you'll need to setup wifi connection to your home network to fully utilize the board. The following commands allow you to establish a connection to your router and turn off the access point functionality.
# Connect to the board over USB and configure wifi
# Turn off ap access if needed
# Source: https://docs.micropython.org/en/latest/esp8266/esp8266/tutorial/network_basics.html

import network
sta_if = network.WLAN(network.STA_IF)
ap_if = network.WLAN(network.AP_IF)

# Activate the Wifi connection
sta_if.active(True)

# Connect to your network
sta_if.connect("<your ESSID>", "<your password>")

# Check to see if you have a network connection.
sta_if.ifconfig()

# Deactivate the access point if needed.
ap_if.active(False)
Adding Files to your ESP 8266
Getting started with the ESP8266 can be a bit vague. You will need to transfer your main.py script to the board as well as modify the boot.py to include your wifi connection information. By default, WebREPL is turned off. This caused me to stumble for a while. To setup WebREPL, execute the following commands.
import webrepl_setup

# Follow the onscreen commands to setup WebREPL
# Select a password, 4-9 chars.

# Reboot the board.
Once rebooted, I used the CLI interface from: https://github.com/micropython/webrepl. I can then get the file from remote, edit it, and put it back on the board.
# Command to get boot.py.
python webrepl_cli.py 192.168.0.108:boot.py boot.py

# Command to write boot.py.
python webrepl_cli.py boot.py 192.168.0.108:boot.py
Now you should be all set having a running MicroPython flashed ESP 8266 to begin development. It will connect to your network upon boot and be available to have code pushed to it through WebREPL.
A Simple Blinking Light Script
Getting an LED blinking is the "Hello World" of embedded systems. The following script will blink an LED every 2 seconds provided you hook up to GPIO Pin 2, labeled as I/O pin 4 in the script.
"""
    Script to blink an LED connected to GPIO Pin 2 of the ESP 8266 board.
"""

###########################################################################
# Setup code goes below, this is called once at the start of the program: #
###########################################################################
import machine
import time

# Counter
i = 1
led = machine.Pin(4, machine.Pin.OUT)

while True:
    ###################################################################
    # Loop code goes inside the loop here, this is called repeatedly: #
    ###################################################################
    i += 1
    i = i % 2
    if(i % 2 == 0):
        led.on()
    else:
        led.off()
    time.sleep(2.0)  # Delay for 2 seconds.